ASP.NET Web API from scratch - part 2
In part 1 we created the simplest possible ASP.NET Web Application to get going with a basic Web API controller.
In this second part, we will make our controller a little more useful by fleshing out the basic CRUD actions and adding a simple client side HTML page, complete with some bootstrap styling and a Kendo UI grid in order to provide an incredibly quick and easy way to start using our API.
##The Controller Open the solution we created in part 1.
To keep things simple, we will initially work against an in memory collection of objects. In part 3 we will change this to use the Entity Framework against a real backend database.
Let’s start by defining a simple Person model class. Create a new folder in the project called Models and add a new class called Person. Add three properties to this class for Id (int), FirstName and LastName (both as string).
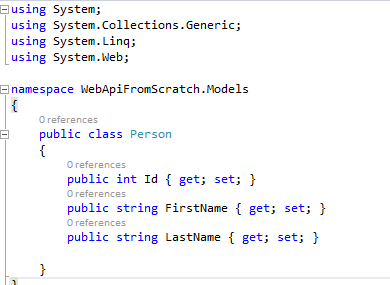
A quick way to add properties to a class is to simply type the word prop and press [Tab]. This will create a property snippet from which you can replace the text placeholders with your own values again using the [Tab] key to switch between the different template attributes. Just press enter when you are happy with the values and your snippet wll be converted to a normal code block.
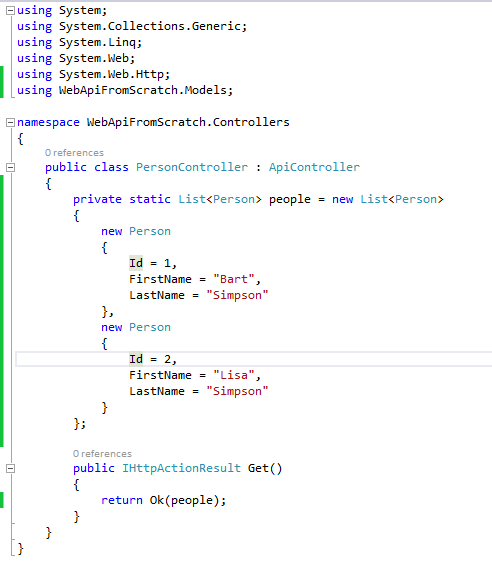
Now open the PersonController class we created in part 1 and create a private static list of people. We are making this static so that any changes will be persisted for the lifetime of our web application instance.
Just above the Get action method we added in part 1, add the following lines:
private static List<Person> people = new List<Person>
{
	new Person
    {
    	Id = 1,
        FirstName = "Bart",
        LastName = "Simpson"
    },
    new Person
    {
    	Id = 2,
        FirstName = "Lisa",
        LastName = "Simpson"
    }
};
Remember to add a using statement for the Models namespace i.e.
using WebApiFromScratch.Models;
Now change the method body inside our Get method to return this list instead of the simple string we had previously:
return Ok(people);
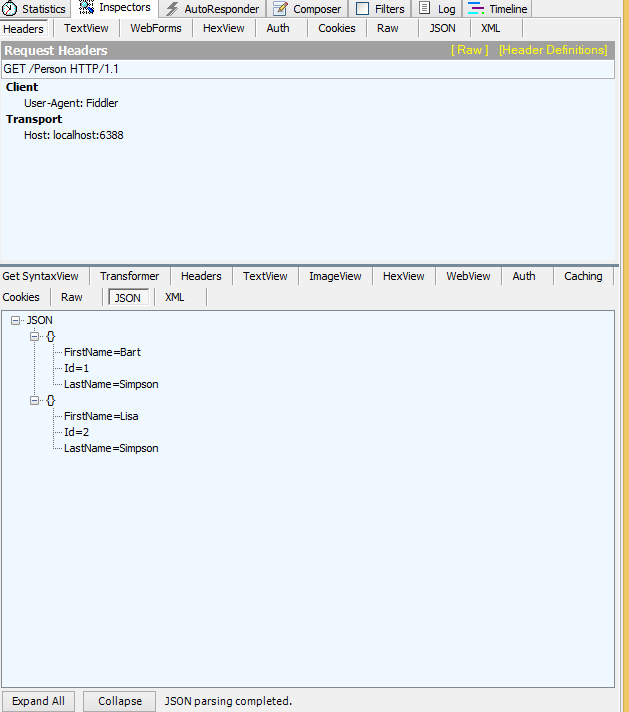
Testing this in fiddler (or a browser), you should now see that we are returned back this list of people in JSON format (or XML depending on the client being used):
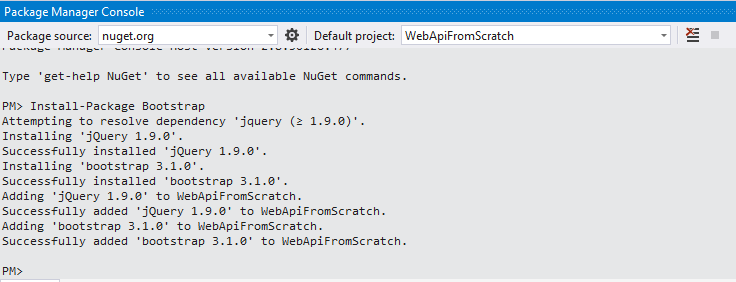
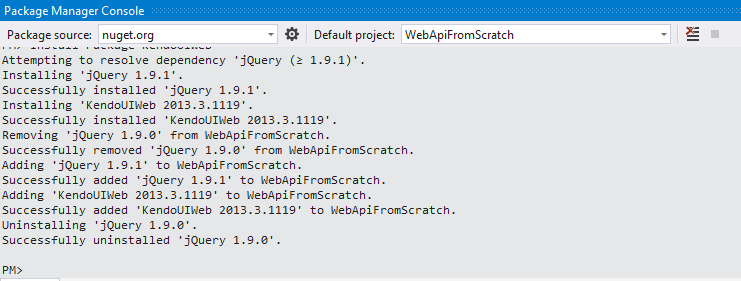
##More Packages Now let’s turn our attention to the client. We are going to add a couple of additional NuGet Packages via the NuGet Package Manager Console, so open this up again and install the Bootstrap package:
Install-Package Bootstrap
Once installed, let’s add the Kendo UI Web package that Telerik makes available via NuGet:
Install-Package KendoUIWeb
##Bootstrap Add a new HTML file to your project called index.html. Replace all of the content with the following which is a modified version of the basic template example on the bootstrap site but using the local CSS and JavaScript files which have been added by the above NuGet packages:
`<!DOCTYPE html>
People
`
Just below the <h1>People</h1> line, add the following, which will be a placeholder for a Kendo UI grid:
<div id="peopleGrid"></div>
Now add the following script tag below the last kendo script tag reference, and just before the closing body tag:
<script>
	// jQuery ready function ensures DOM is loaded before the code inside is executed
	$(function() {
    	// use jQuery a selector to get the div with an id of peopleGrid and call the kendoGrid function, passing in a configuration object to initialise the grid
    	$("#peopleGrid").kendoGrid({
        	dataSource: {
            	transport: {
                	read: {
                    	url: "/Person"
                    }
                }
            }
        });
    });
</script>
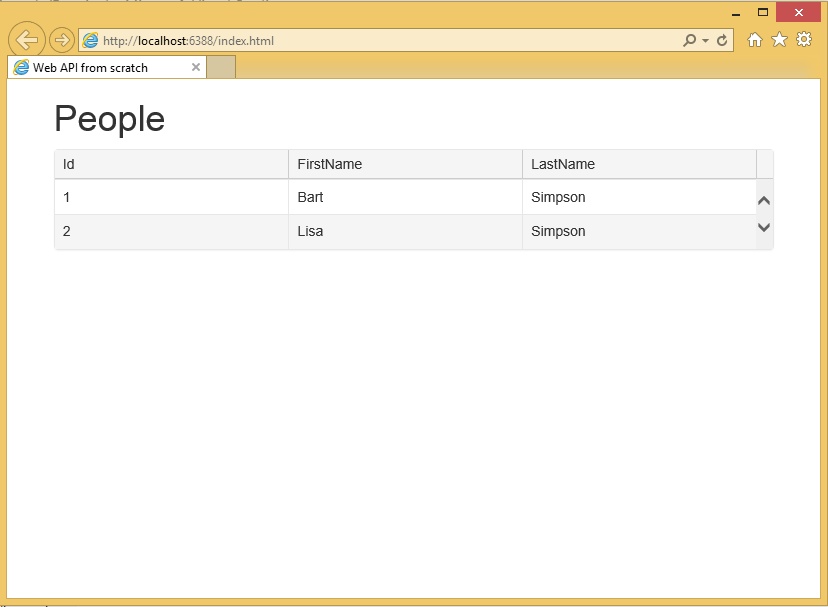
Run your project (F5) and all being well you should see the Kendo grid intialise and show the data returned by your API controller:
Let’s tidy the grid up a little by hiding the ID column and adding some friendly titles. We’ll also make the grid sortable and filterable (client side only for now), and add commands to add, edit and delete items. We’ll do this in one shot by replacing all of the grid initialisation code above with the following:
$("#peopleGrid").kendoGrid({
	dataSource: {
		transport: {
			read: {
				url: "/Person"
			}
		}
	},
    columns: [
    	{ field: "FirstName", title: "First name"},
        { field: "LastName", title: "Last name"},
        { command: ["edit", "destroy"] }
    ],
    toolbar: [
    	{ name: "create" }
    ],
    sortable: true,
    filterable: true,
    editable: "popup"
});
We have specified that the grid is editable by assigning the value “popup” to the editable property. We could also have specified “inline” if you prefer to edit records directly in the grid. Unfortunately our Web API does not have the methods to support editing, but this can be easily fixed!
##Back to the contoller Open up the PersonController class again. We are going to quickly add some basic actions for the remainder of our CRUD operations in order to achieve our fully functional client-side grid. Hopefully the code below is fairly self-explanatory, but just note that we are working against a simple in memory collection of objects here rather than a real backend data service.
Let’s start with a Post (Create) method which we’ll add just below the Get method:
public IHttpActionResult Post(Person person)
{
	var nextId = people.Count + 1;
	person.Id = nextId;
	people.Add(person);
    return CreatedAtRoute("Default", new { id = nextId }, person);
}
Now we’ll add the action methods for Put (Update) and Delete:
public IHttpActionResult Put(Person person)
{
	var personToUpdate = people.Where(p => p.Id == person.Id).SingleOrDefault();
	var index = people.IndexOf(personToUpdate);
	people[index] = person;
    return Ok(person);
}
public IHttpActionResult Delete(Person person)
{
	var personToDelete = people.Where(p => p.Id == person.Id).SingleOrDefault();
	var index = people.IndexOf(personToUpdate);
	people.RemoveAt(index);
    return Ok();
}
The final action methods should look as follows:

##Back to the client In order to finish off our client side Kendo UI grid, we need to tell the data source defined on the grid about our new methods. Fortunately this is very straight forward, and just requires us to specify the URL and HTTP verb (type) for each operation. Replace the existing dataSource definition with the following:
dataSource: {
		transport: {
			read: {
				url: "/Person"
			},
            create: {
				url: "/Person",
                type: "POST"
			},
            update: {
				url: "/Person",
                type: "PUT"
			},
            destroy: {
				url: "/Person",
                type: "DELETE"
			}
		},
        schema: {
        	model: {
            	id: "Id"
            }
        }
	}
In order to maintain proper state, the Kendo UI data source needs to know at minimum the name of the Id property of our model. This is done via the schema / model configuration object, which is why they have also been added above. The model object can also be used to provide additional meta information about your model such as validation and data types etc, which we may touch on in later posts.
If we run our project again, we should now be able to add new items and edit or delete existing ones. Refreshing the browser should keep the same state proving that our Web API is indeed being called. Alternatively we could set break points in our controller or use Fiddler to see the flow of HTTP calls between our client and the Web API.
This concludes the second part. In part 3, we will look at moving away from the in memory data structure and to use an Entity Framework Code First model against a real database.