ASP.NET Web API from scratch - part 1
Visual Studio 2013 introduces the new “One ASP.NET” project dialog box which drastically simplifies how we can mix and match ASP.NET technologies such as Web Forms, MVC and Web API. The one downside that I have found to choosing either the MVC or Web API template options is the sheer amount of extra template content that can get in your way if all you want to do is learn about the basics. Luckily there is also the option to choose the “Empty” project option and then selectively choose the technologies you want added, but without the template content items (such as bootstrap, jQuery etc) which are included in the other project types.
I wanted to take this a step further however, and find the minimum amount of work needed to get a basic Web API project up and running. In this first part, we will get an extremely basic Web API project working with a single controller.
##Create the project Start Visual Studio 2013 and select File / New Project (Ctrl+Shift+N). Select Visual C#, Web and the new “ASP.NET Web Application” project template should be pre-selected. Give your project a name and click OK.

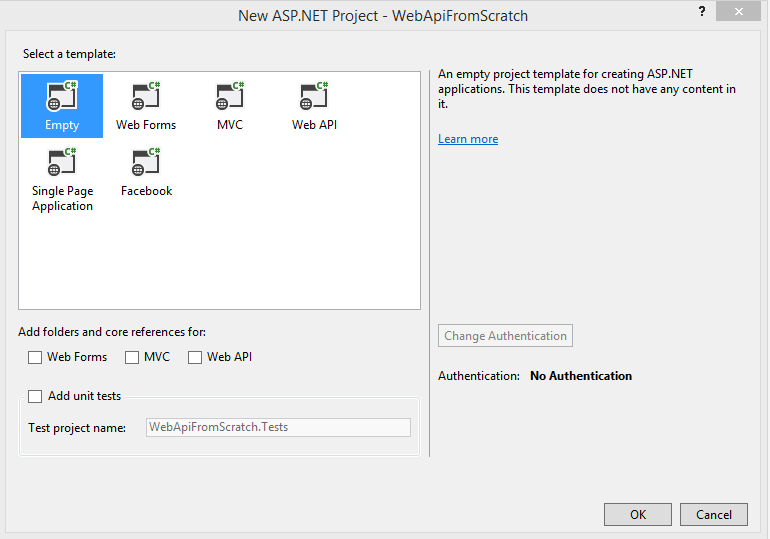
You should now be presented with the new One ASP.NET project dialog, and in this case choose “Empty”, keep everything unchecked and click OK:
##Add Web API packages As this is a completely blank project, we will need to add the references ourselves. We could do this via the NuGet package GUI by right-clicking on the project references, choosing Manage NuGet Packages and searching and adding Web API, but I prefer to use the Package Manager Console. If this is not visible already, simply go to the VIEW menu, Other Windows and click Package Manager Console. In the console window that appears, type
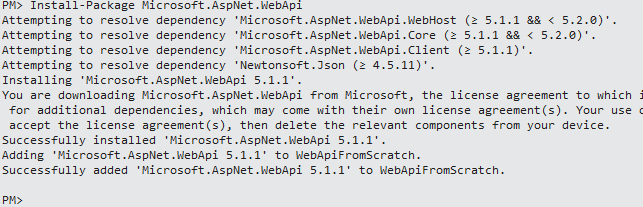
Install-Package Microsoft.AspNet.WebApi
and press Enter. After the package has installed you should see something similar to the following:
##Configure routing As far as I can tell, the only configuration step required to get started with Web API is to configure the initial routes. Fortunately this is extremely simple and can be done in a single line from Global.asax. As we are in a blank project, we will need to add a new Global Application Class by right-clicking on the project name in solution explorer, hovering over “Add” and selecting “Global Application Class”. Keep the default name of Global and click OK.
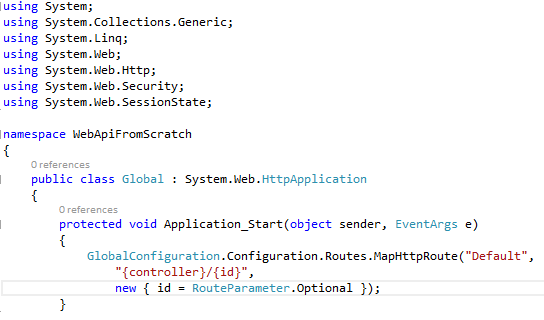
Route configuration in Web API is done through the static GlobalConfiguration class. Inside the Global.asax.cs Application_Start method, type GlobalConfiguration and press Ctrl+. to auto-resolve the namespace as this class is contained within System.Web.Http (or manually add this namespace to the top off the class). Once resolved, we want to call the MappHttpRoute method inside the Configuration.Routes member property as follows:
GlobalConfiguration.Configuration.Routes.MapHttpRoute("Default", "{controller}/{id}", new { id = RouteParameter.Optional });
The first parameter simply names the route we are adding as “Default”, but this could really be called anything we like. The second parameter is the route template and in this case we are going to simply try and match the name of the controller and an id.
The third parameter simply tells the route engine that the id parameter is optional, and so not to complain about matching any routes if this is not present.
It should be noted that the general way to configure Web API routes is to not use an {action} part to the route template as we would in MVC, as the action can generally be inferred by the HTTP verb used by a client to access the controller e.g. POST, GET, PUT, DELETE etc, although it is entirely possible to use an action name in Web API if this is what is required by your API design.
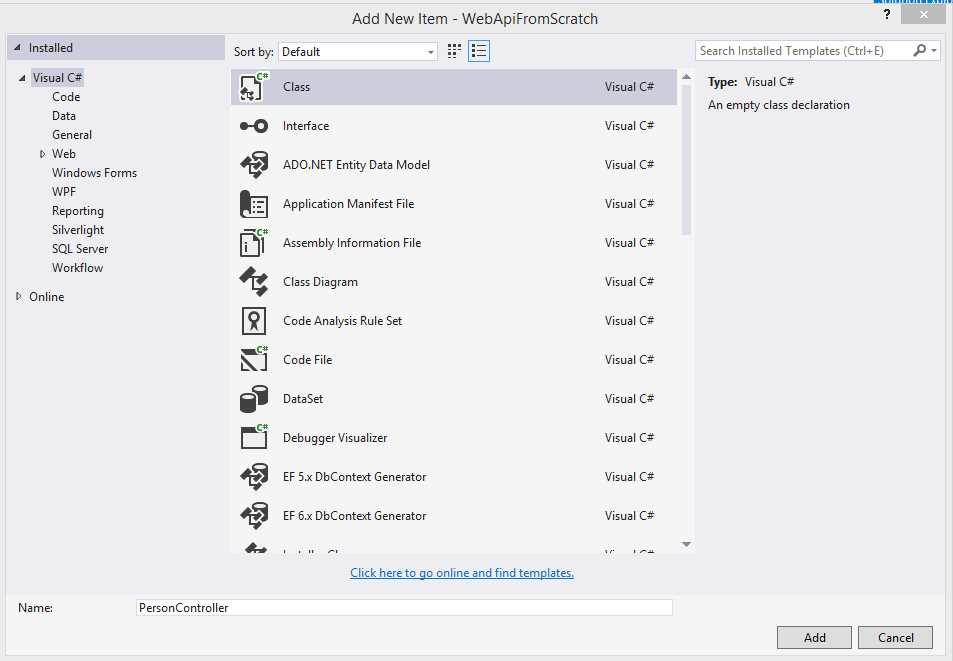
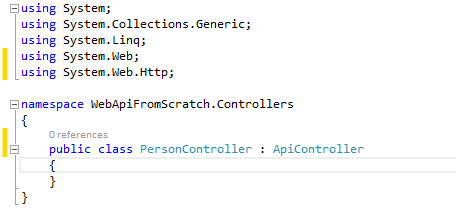
##Add a controller Now the default route is configured, we can add a controller. Right-click on the project name in solution explorer, hover over Add and choose New Folder. Call the folder “Controllers”. Right-click on this new folder, hover over Add and select “Class”. Name the Class PersonController and click OK:
Add a using statement for System.Web.Http and then make the class inherit from ApiController:
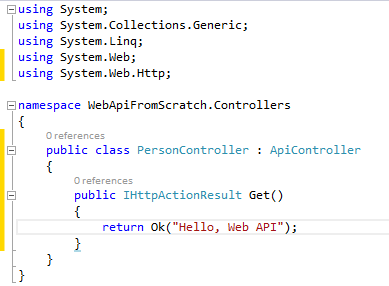
Add a new public method called Get with no parameters and a return type of IHttpActionResult and add the following code:
return Ok("Hello, Web API");
##Testing our Web API We can test our new controller out in a browser by running the project and navigating manually to the Person controller e.g. http://localhost:12345/Person (the port will be randomly chosen by Visual Studio). Depending on the browser being used, you will either see an XML representation of the string returned from the controller (Chrome and Firefox), or you will be prompted to save a JSON representation (IE).
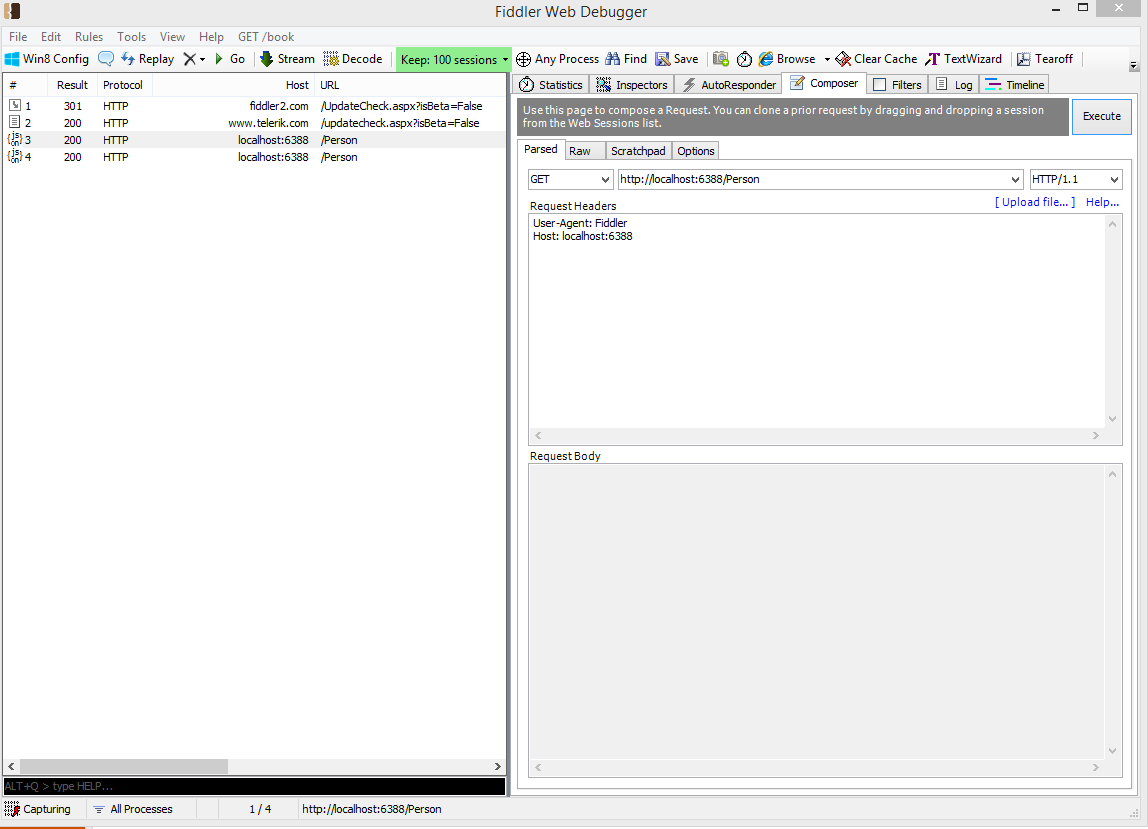
Another alternative, and one I strongly recommend, is to use Fiddler. A full overview of fiddler is beyond the scope of this post, but once installed and started, click on the Composer tab, paste in the URL to your Web API controller and click Execute:
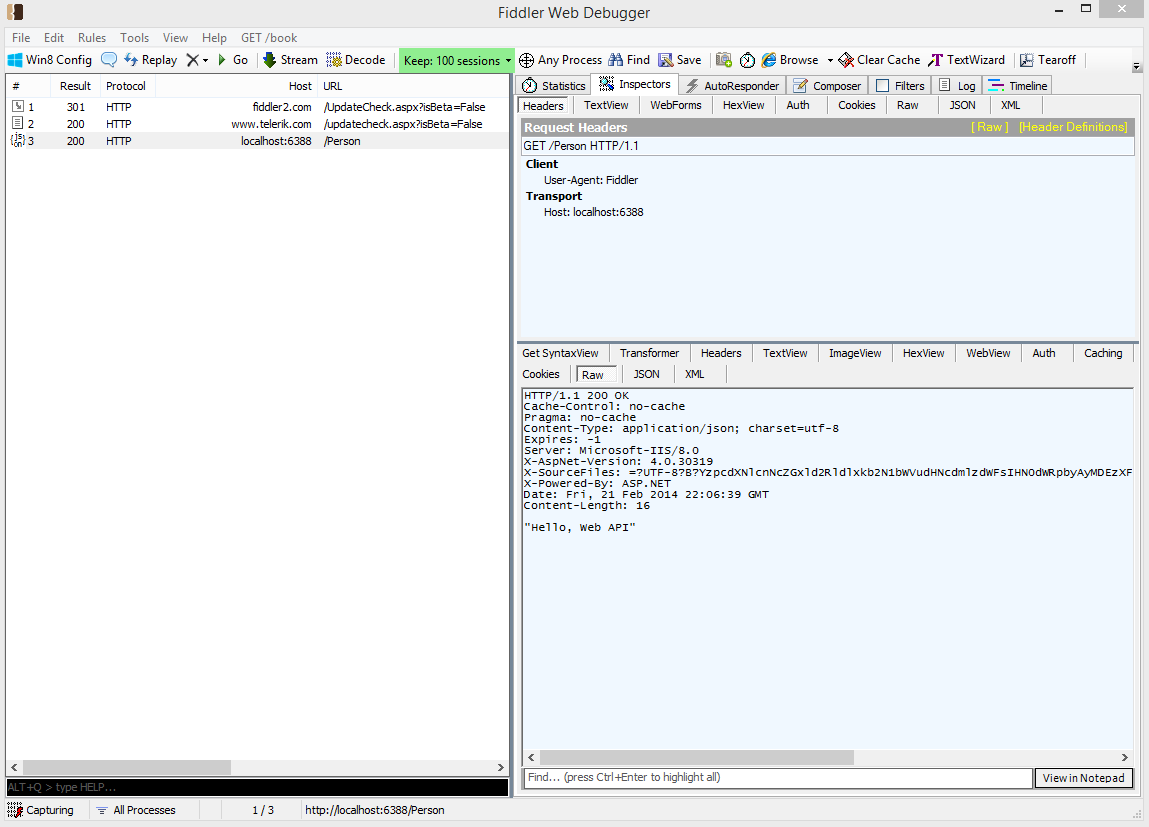
Once the request finished, you will see it appear in the left-hand pane. simply click on this, and in our case select the Raw tab:
##Conclusion That’s really all there is to get going from a completely empty ASP.NET Web Application project to a functional Web API controller.
In the next post we will look completing our basic API with a full set of CRUD operations matched to the corresponding HTTP verbs and a basic HTML client page, along with the Bootstrap CSS framework for styling and a Kendo UI grid to utilise the capabilities of our API.